Everyone loves butterflies. However, keeping them in cages requires a large space and you can’t enjoy watching them through the mesh. Fortunately, you can create a butterfly garden at home to attract those butterflies!
To build your own butterfly garden, study the biodiversity of butterflies in your locality and identify the nectar plants that attract them and the host plants for their caterpillars. If necessary, improve the soils or use raised bedding. Grow the selected plants and you are ready to welcome and maintain the butterfly!
There are a few details that you need to know about selection and caring of plants so that your garden is frequented by the butterflies.
Study the Butterflies in Your Locality
Before starting your own DIY butterfly garden, you have to first do some studies. Yes, studies!
Different butterflies are attracted to different plants. Hence, it is crucial to study the biodiversity of butterflies at where you intend to set up your DIY butterfly garden. This information can usually be found in your local butterfly society.
If you are in the US, I encourage you to visit ButterflyIdentification.org to find out which butterfly species can be found in your state.
By knowing which species are available in your states, you can choose the right plants to attract them.
Selecting Plants for Your Butterfly Garden
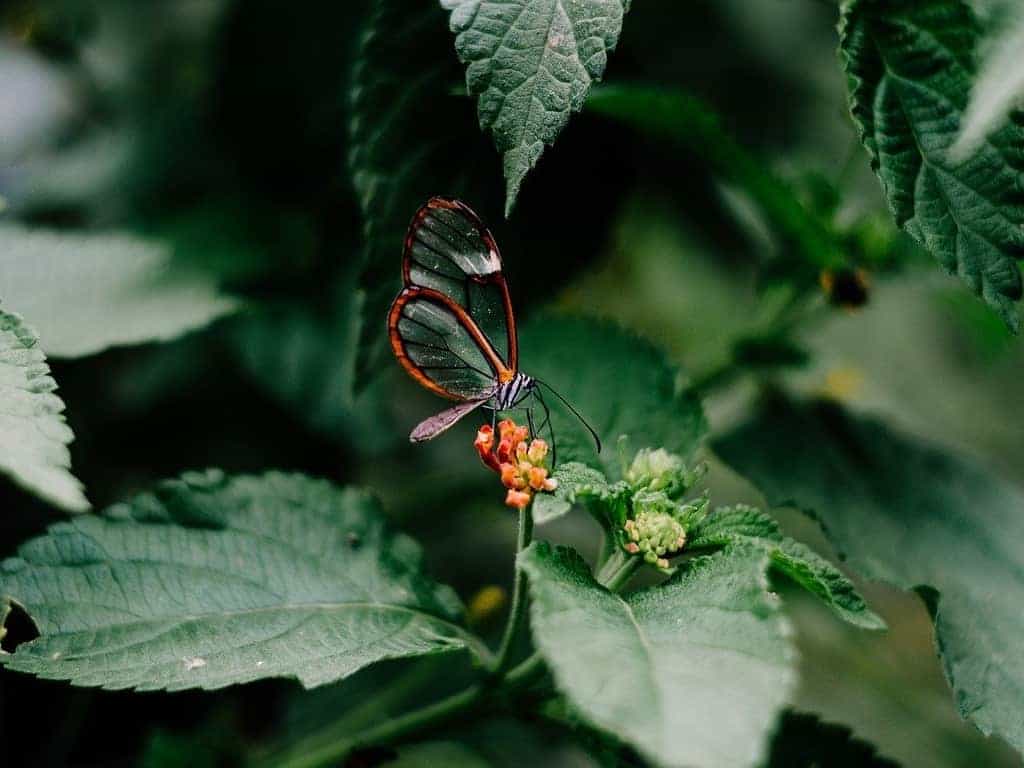
Butterflies generally feed on nectar from a range of plants, which we call the nectar plants. If you are targeting a specific butterfly species, choose the nectar plant that works the best for that species.
I recommend targeting multiple species (instead of a single species) by including a variety of native nectar plants to improve chances of attracting the butterflies. Many nectar plants attract a wide variety of butterflies. Examples include red valerian, butterfly bush, milkweed, and goldenrod. These plants are usually labeled as “butterfly plants” by sellers.
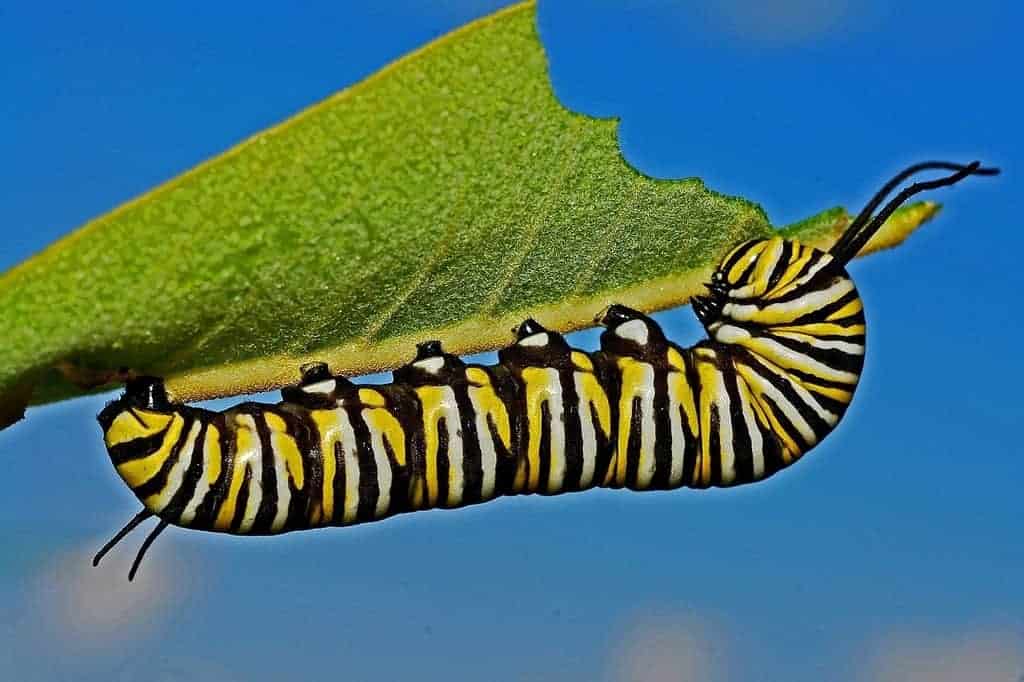
While nectar plants attract butterflies for feeding, they may not encourage breeding because caterpillars feed on specific host plants. Your goal is to get a continual supply of caterpillars so that there are always butterflies in your garden. Hence, you need to include host plants in your garden.
Similar to nectar plant selection, you want to cover as many species in your locality as possible. For instance, if you are staying in New York, the goldenrod is your preferred nectar plant as it attracts a large variety of butterflies. But if you stay in Western Washington, a strawberry plant is a better option than a goldenrod.
You can also consider using host plants that act as nectar plants if you have limited space. For instance, showy milkweeds and goldenrod serve as both the nectar plant and host plant.
Always use native plants in your butterfly garden for 3 reasons:
- Native plants attract local species better than exotic plants
- Native plants are easier to grow and maintain as it is accustomed to your local climate.
- Native plants support the growth of other native insects which is beneficial to the environment as a whole.
Other considerations in choosing the plants include the need for sunlight (sunny vs shaded), perennial vs annual plants, as well as the blooming seasons.
Butterflies prefer a sunny spot. If you have a sunny spot that receives more than 6 hours of direct sunlight a day, choose those plants that thrive under sunny conditions. If the direct exposure to sunlight is less than 3 hours, choose plants that thrive under fully shaded conditions. For anything in between 3-6 hours, choose those plants which thrive in a partially shaded condition.
Plants can be annual or perennial. The table below shows the difference between the 2. Choose the type of butterfly plants according to your preference, or, plant both! Select your combination of annual and perennial plants so that there are flowers to attract butterflies from spring to fall.
| Characteristics | Annual Plant | Perennial Plant |
|---|---|---|
| Lifespan | Die in winter | Can live for many years |
| Replanting | Yearly replanting required | Replanting not required |
| Blooming duration | Typically bloom from spring to first frost | Typically bloom in a specific season |
| Growth | Grow rapidly | Slower growth |
If you live in the United States, you can use this awesome tool from the National Wildlife Federation. Simply key in your zip code to find out what are the native plants in your locality that attract butterflies. I love this tool because it shows you the plants’ attractiveness to caterpillars, taking into consideration the butterfly biodiversity in your locality.
Preparing the Soil for Growing Plants
Before growing your plants, you need to make sure the soils are suitable for them. Check out the requirements of each plant that you have selected.
There are 2 main things that you need to look at:
- Soil type: clay, loamy or sandy soils
- pH: acidic or alkaline
Loamy soil is the preferred option for many plants. If your soil is mainly clay or sand, you will need to improve the soil. To do so, put 2″ – 4″ of organic compost onto your soil and mix it with the top 5″ – 8″ of the soil. Add 1″ – 2″ of compost every year.
If your soil is acidic, it is better to use plants that thrive in acidic soil. Of course, you can still grow plants that thrive in opposite pH if you are willing to spend some time and money improving your soil.
If you want to make your soil alkaline, add some garden lime or wood ash; Conversely, to make your soil more acidic, add sulfur granules or peat moss. Note that adding compost will move the pH of your soil towards neutral.
The key with soil acidity improvement is to do gradual change instead of a sudden big change, so that you don’t overdo it. After each improvement, wait for a few days for the soil to settle, test the soil, and repeat the cycle if needed.
In case your soil is difficult to improve, you can use a raised planter filled with soil having the desired profile.
Growing the Nectar Plants and Host Plants
After the soil is ready, start planting your nectar plants and host plants! Remember to water and fertilize your plants according to their needs.
Decorating the Butterfly Garden
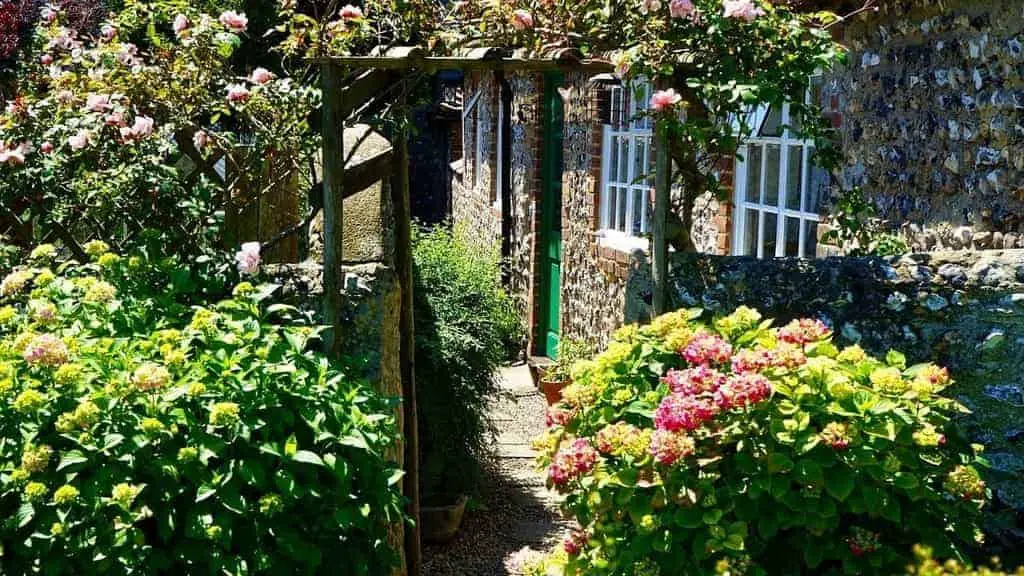
There are 3 things that people often decorate their DIY butterfly garden with: trees or shrubs, mud puddle, and butterfly house. Note that those decorations are good to have but not must have.
A tree or shrub creates shade which is not appreciated by butterflies. However, it provides a resting place for the butterfly, as well as protection from predators. If placed properly, it protects the butterflies from strong winds, allowing them to linger in your garden for a longer time.
Some of the trees or shrubs can also serve as the host plant for butterflies. Examples include birch, oak, blueberry, and dogwood. If you have limited space, grow some climbing plants on your arbor instead.
A mud puddle is another good addition to your butterfly garden. While the exact science behind it is not clear, some butterflies do aggregate around mud puddles. It was said that the butterflies are feeding salts in the puddle.
To make your own mud puddle, create a depression on the ground and place a plate or container into the depression. Fill up the container with dirt and add some salt. Water the mud puddle from time to time so that it is moist but not flooded. The puddle should be located somewhere visible to the butterfly. You can also shop for commercially available butterfly puddles.
Lastly, you can spruce up your garden with a butterfly home. The main purpose of a butterfly house is to make your garden look nicer. Some people may argue that butterflies can hide in the house from bad weather or predators, but I am not quite sure about that.
Pest Control at the Butterfly Garden
Inevitably your garden will be attacked by pests such as snails, mites, white flies, fire ants, and etc. Inappropriate use of pesticides will most likely kill the butterflies as well. So what options do you have?
The safest pest control method is through manual removal of pests. This is suitable for big creatures such as slugs/snails.
You can also use essential oil-based pesticide to spray onto the pests. Those products usually work through direct contact. That means the products do not leave residual effect after it dries. As long as you don’t spray onto the caterpillars/chrysalis/butterflies, and they don’t contact the treated surface before it dries out, they will be safe.
Another option is to use diatomaceous earth. This product comes in dust formulation and also works through direct contact. Apply the dust on the soil to kill the pests. The caterpillars are generally on the foliage, and they are unlikely exposed to diatomaceous earth. Hence, diatomaceous earth is safe for butterflies if used correctly.
Bait is another good option to consider. There are commercially available bait products for pests such as fire ants and snails/slugs. Because baiting is a targeted treatment that kills creatures feeding on them, it has a very low risk for caterpillars as long as you don’t apply the bait in a way that may contaminate the foliage.
Posing with the Butterflies for Photography
With butterflies in your garden, you have a lot of chances to snap butterfly photos. But how do you make the butterflies corporate with you for posing?

Butterflies do not fly right after emergence because their wings are soft. You make a butterfly walk onto a pencil or stick, and transfer them to your fingers or wherever you need it to pose.
So how do you get a newly emerged butterfly? Simply collect the chrysalis/pupa on your host plants. Transfer them into a ventilated container. The easiest way to do that is to cut out the portion of foliage where the chrysalis is attached to, and hang that cut portion in the container.
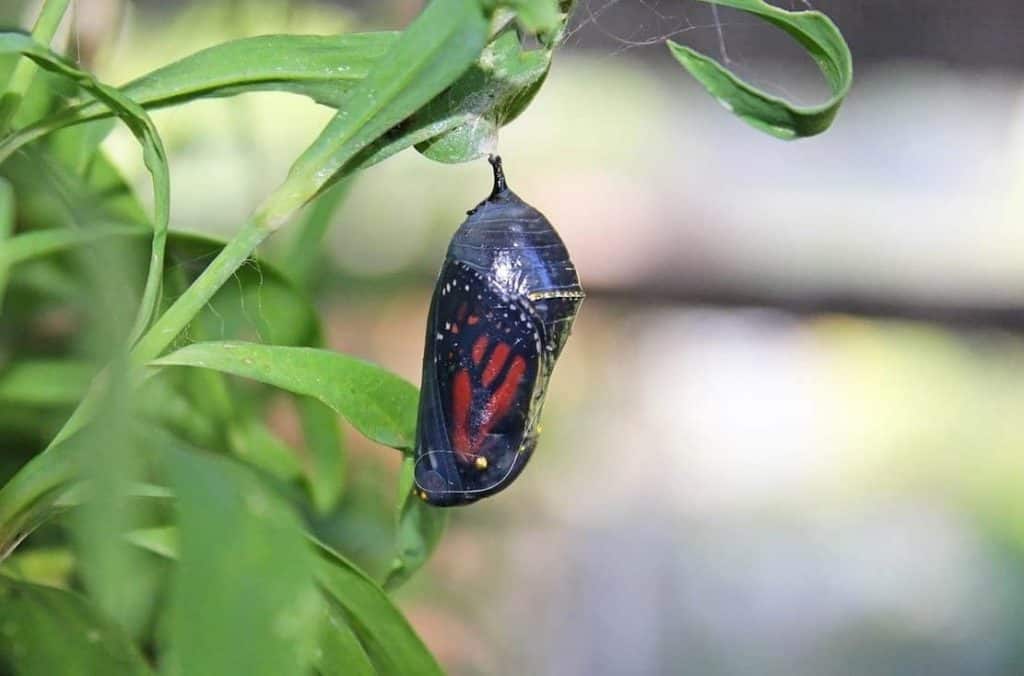
Depending on species, the chrysalis may take weeks or months to emerge. Do note that the emergence rate is not 100%. You might want to collect 3-4 chrysalis for this. Approximately 1-2 hours after emergence, you can start handling the butterflies for photo-shooting.
Butterflies are fragile. Hence, never grab it with your fingers. The colorful scales on butterflies’ wings will come off if you touch it with your fingers.

